You no longer need to install software to edit a video well. An online video editor runs in the browser, saves as you go, and hands the slow parts to AI: the transcript, the captions, the reframing for each feed. This guide walks through a complete edit of a talking video in Vidoveli’s online video editor, from bringing the video in to posting it, with what each step costs.
Before you start
You need a computer with an up-to-date browser, the video, and about fifteen minutes for a short clip. Nothing to install. Talking videos suit this workflow best: interviews, lessons, podcasts, webinars and talks. A new Vidoveli account starts with 15 free credits, enough for 15 minutes of video, and needs no card.
Step 1: Bring the video in
Upload a file (MP4, MOV, WebM, 3GP or AVI video, or MP3, WAV or M4A audio), paste a link to the video on YouTube, Google Drive or Dropbox or a direct link to the file, or record your screen or camera with Record video, right in the browser. From a long video you can pick just the part you need, and only that part uses credits, one credit a minute.
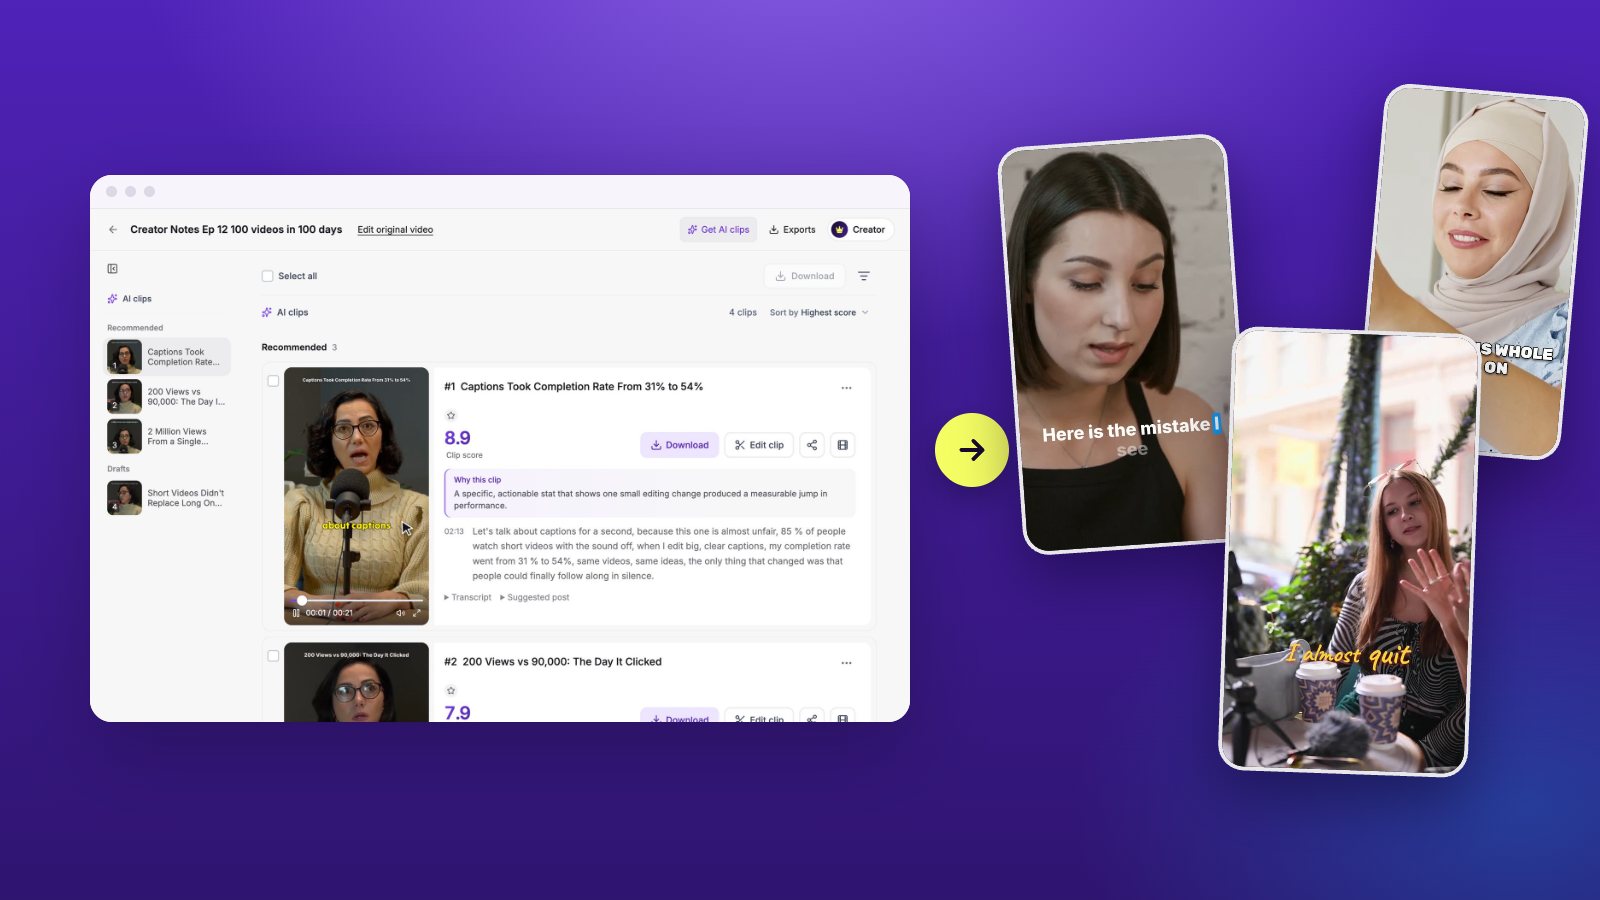
Then choose how to start. Leave Get AI clips on and the AI proposes short clips, each of which opens in the editor; switch it off and the whole video opens in the editor as it is.
Step 2: Cut it down by editing the text
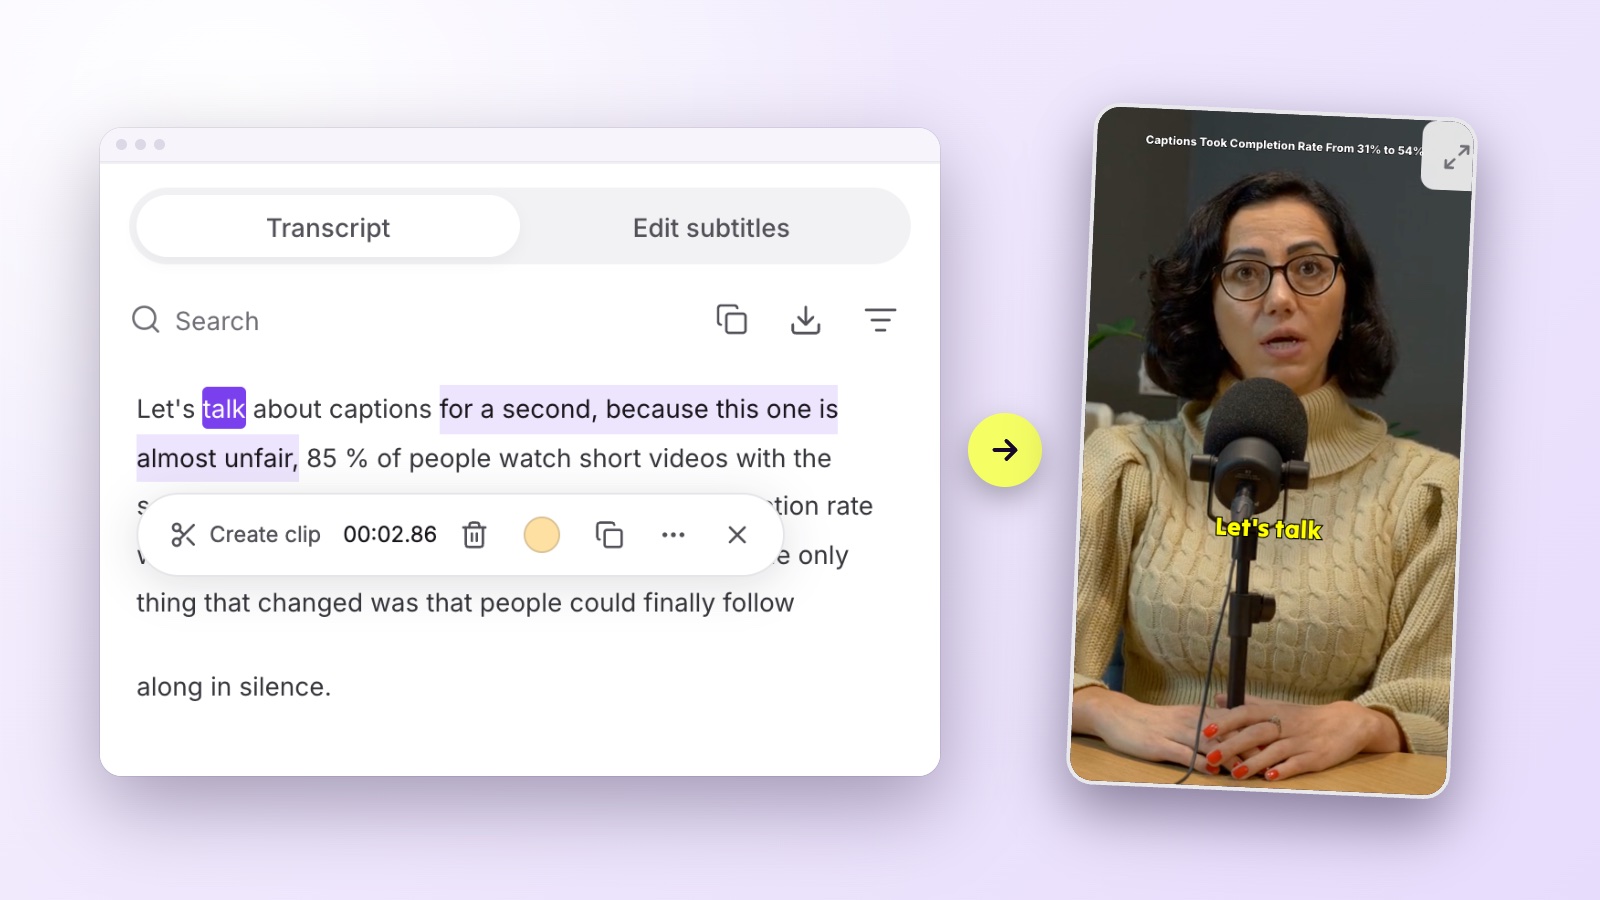
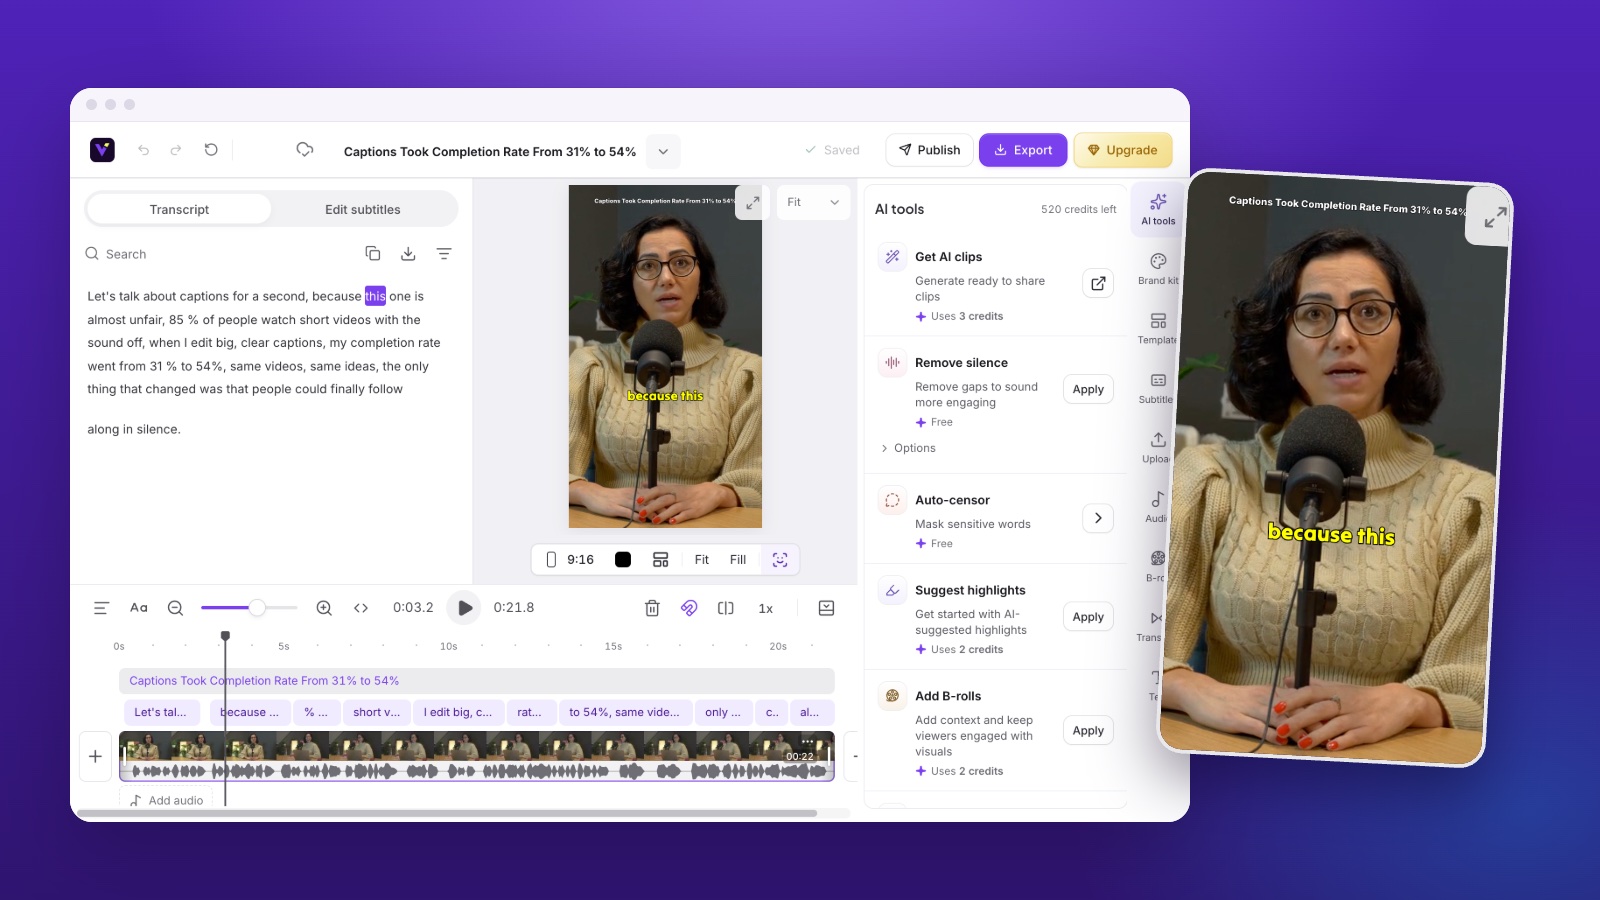
The transcript sits on the left of the editor. Select the words you want gone and press Delete, and that part of the video is cut; the captions follow by themselves. Our guide to editing video by text goes through it step by step.
For pauses, run Remove silence from AI tools and pick Natural, Compact or Fast pacing. It is free, and undo brings everything back if it went too far.
Step 3: Trim and arrange on the timeline
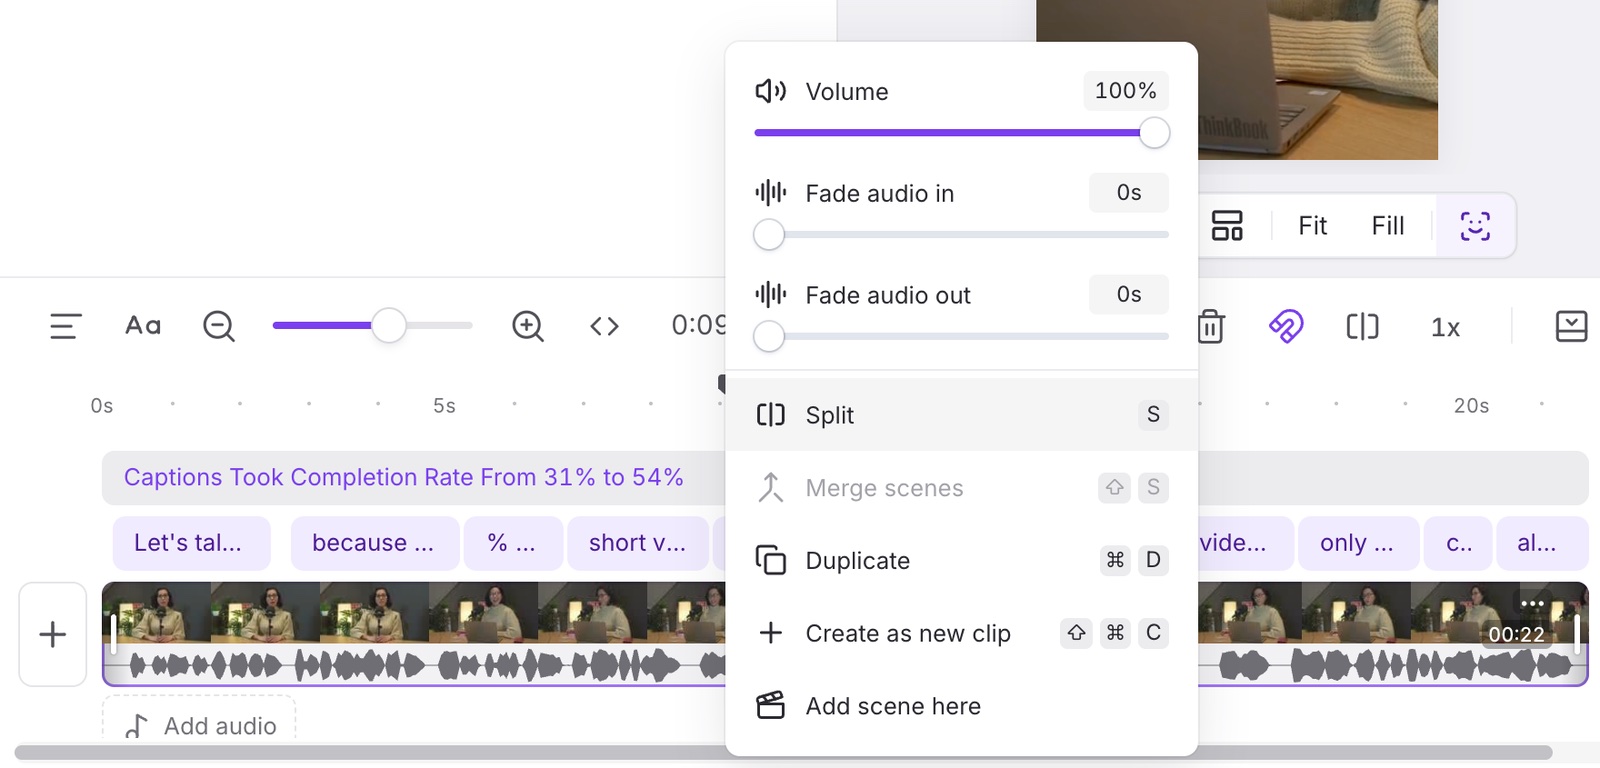
Under the canvas is the timeline: the video, its captions and anything you add on top. Drag the ends of a clip to trim it, or press S to split it at the playhead. Right-click a clip for the rest: Duplicate (⌘D, or Ctrl+D on Windows), Merge scenes (⇧S) to join two parts back together, Create as new clip (⇧⌘C) to turn a part into a clip of its own, and Add scene here to bring in another passage of the same video, picked from its transcript, or another video.
The same menu sets the clip’s volume and fades its audio in and out, so a cut does not start or end on a hard edge of sound.
Step 4: Pick the shape for each feed
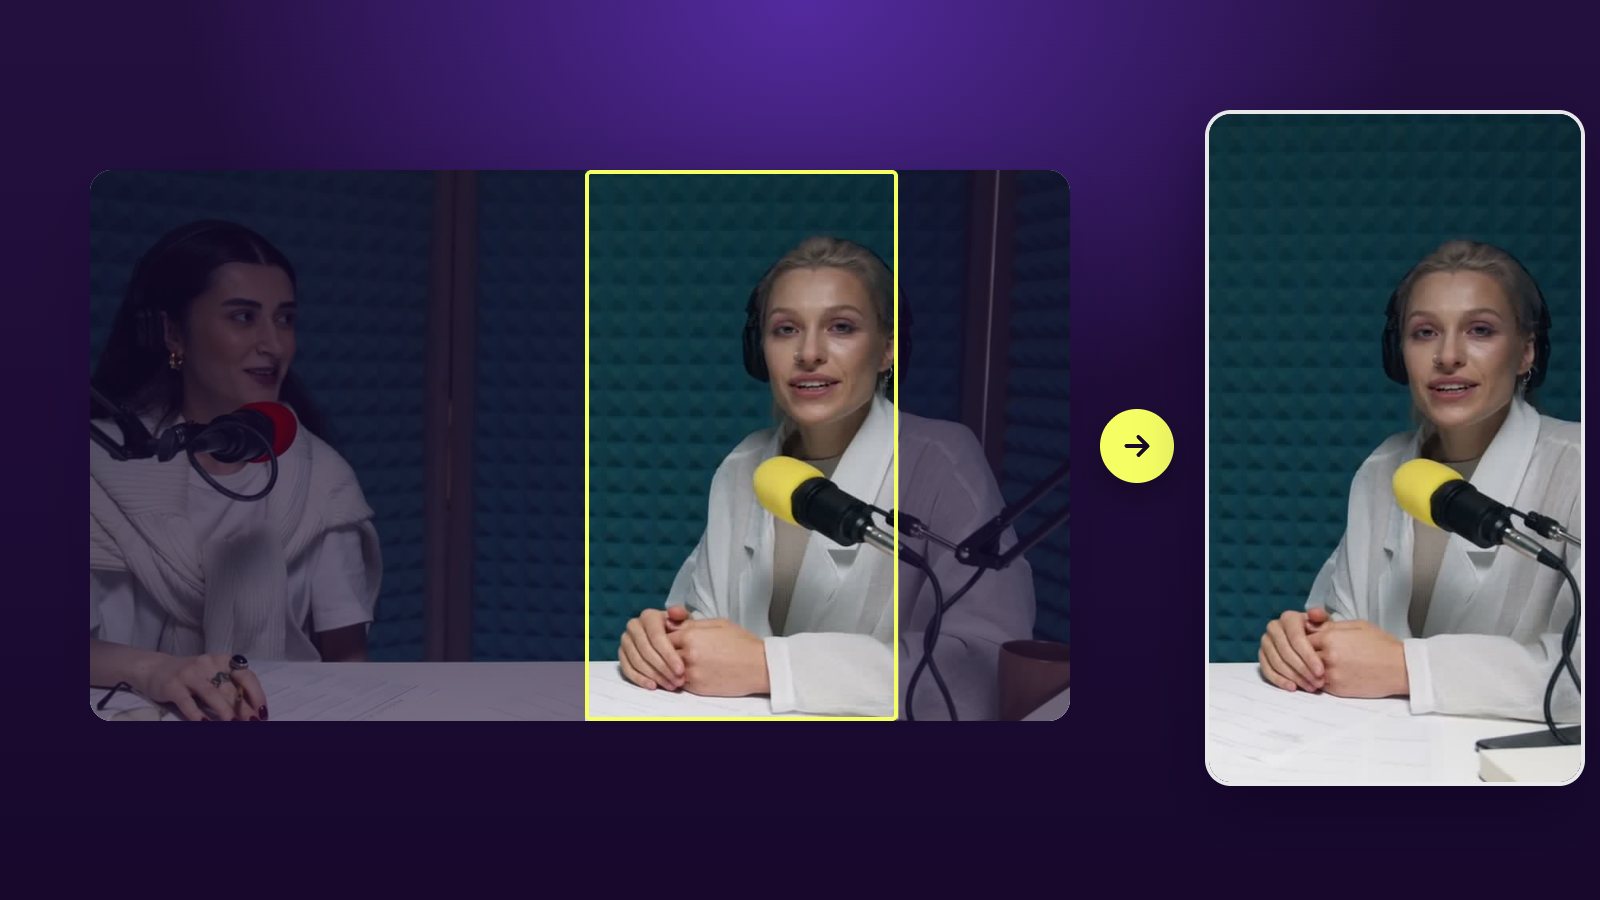
Choose 9:16 for TikTok, Reels and Shorts, 1:1 or 4:5 for feeds, or keep 16:9, and switch at any time. Auto reframe, free in AI tools, follows whoever is speaking so their face stays in frame; split-screen layouts keep two people in view, and a fitted video can sit on a blurred, colored or image background. Our guide to converting horizontal video to vertical explains when to crop, fit or split.
Step 5: Add captions
Captions are made from the transcript and light up word by word as they are spoken. Pick one of 9 animated caption styles, then change the font, color, size and position. AI tools emphasize the keywords and add emoji where they fit, for 1 credit a run each, and translate the captions into any of 40 languages, for 1 credit per minute of the clip, shown alone or under the original. The auto caption generator page shows the styles.
Step 6: Add B-roll, music, text and transitions
Add B-rolls places stock footage over the lines it fits, for 2 credits a run; you can also search stock footage yourself or upload your own clips and images. Music from the Audio panel dips under the voice by itself, so speech stays clear. Drop any of 19 transitions between two scenes, and add text, a logo or images where you need them.
On Business, a brand kit keeps your logo, music and caption style in one place, so every video starts on brand.
Step 7: Export, share or post
Export downloads an MP4. Select several clips to export them in one go, and keep editing while they render. Free exports are 720p with a small Vidoveli watermark; Creator and Business export in 1080p without it, or in 4K when the video you added is 4K. You can also share a public link, or copy the title, caption and hashtags written for each platform.
On Business and Creator from 600 credits a month, Publish sends a clip straight to Instagram, Facebook, LinkedIn and X, right away or at a time you set, and Auto-schedule on the content calendar spreads a project’s clips over the coming days. YouTube and TikTok come next.
What it costs
Editing, captions and exports use no credits. Credits pay for processing a video, one credit a minute, and for some AI tools; each AI button shows its cost before it runs, and Remove silence, Auto-censor and Auto reframe are free. Free credits are given once, and paid plans start at $9.90 a month on the pricing page, which also has one-time credit packs for anyone who edits only now and then.